


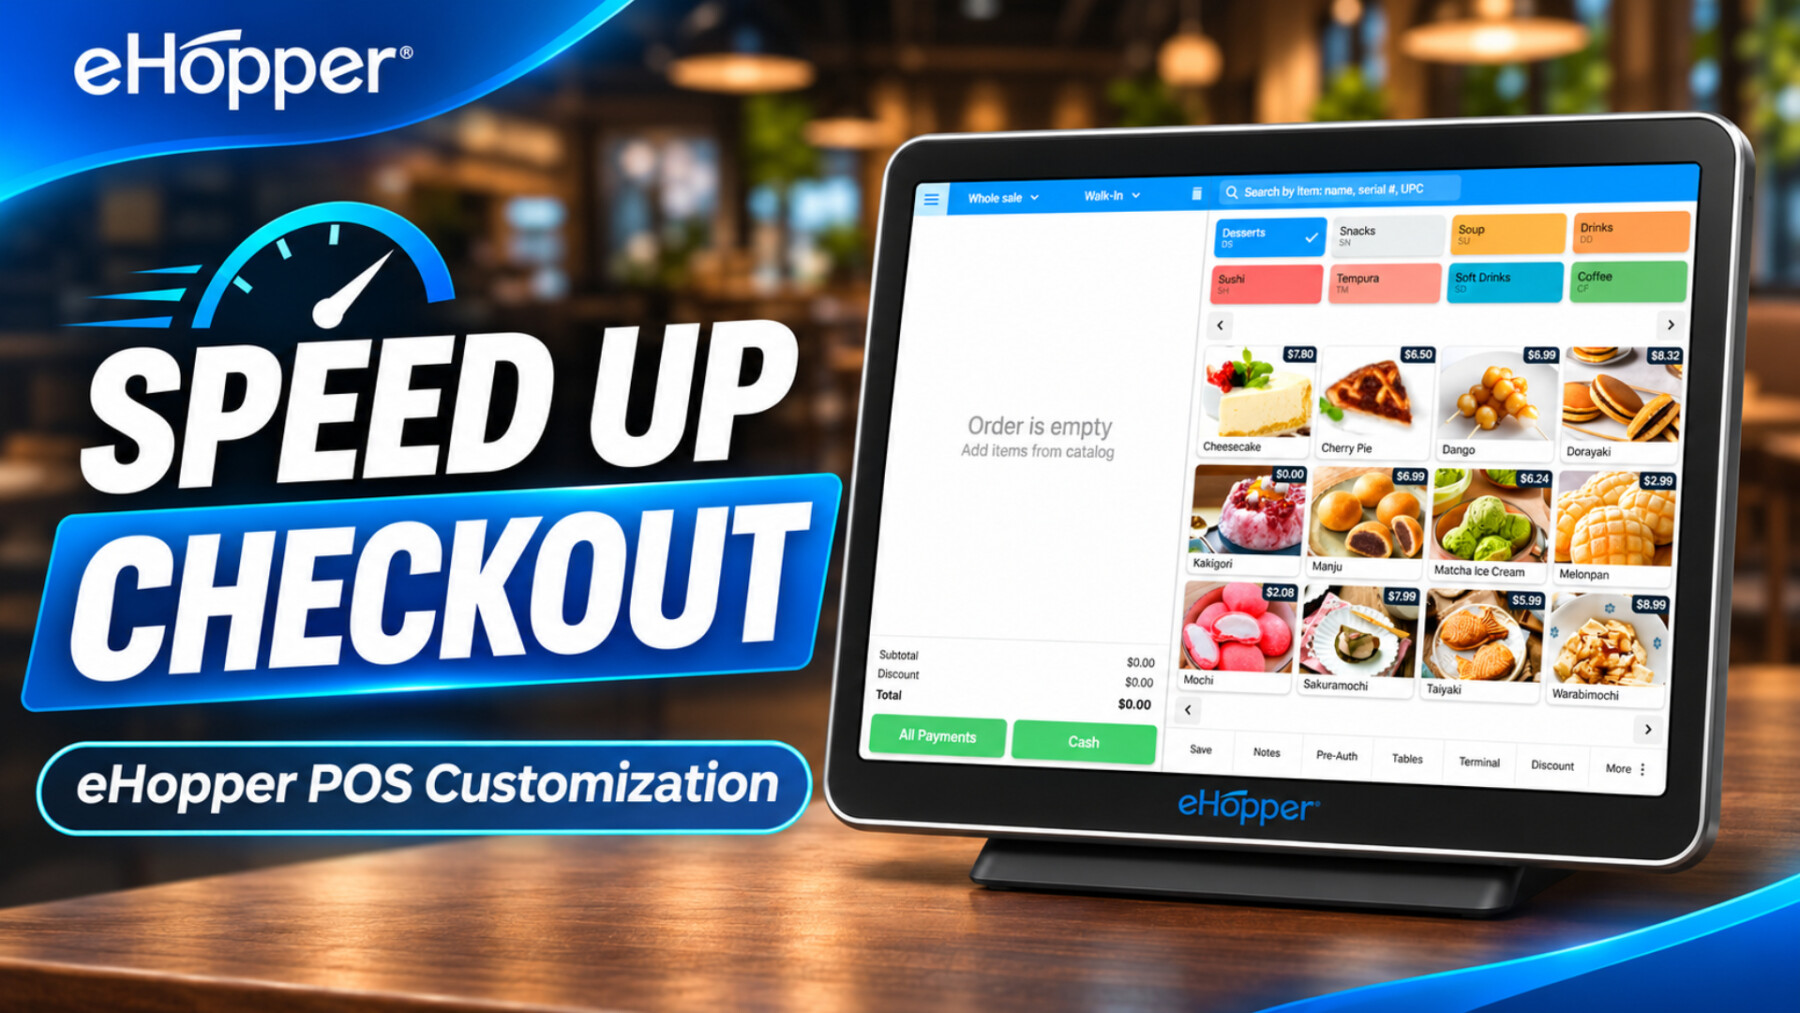
Every second counts at checkout. Learn how eHopper POS customization helps retail stores, restaurants, and other businesses reduce taps and serve customers faster.
Time matters for every business, especially in retail and restaurants. Every second counts.
Think about a customer who walks into a cafe during their lunch break. They see a long line and decide to leave for another place. Or someone who quickly stops at a convenience store to buy milk while their car is double-parked. They don’t want to spend five minutes waiting to pay for one item.
For businesses, these small delays can mean lost sales, frustrated customers, and longer lines. During busy hours, even a few extra steps at checkout can make a difference.
That’s why at eHopper, we’re continuously improving our POS system to help businesses serve customers faster and make everyday operations easier.
But here’s the challenge:
Every business operates differently!
A busy coffee shop might need one-tap payments. A retail store may rely on barcode scanning. A restaurant needs to manage tables and orders. Another business may need to collect additional customer information before completing a sale.
Some employees find products by scanning barcodes. Others tap products directly on the screen. Some businesses want to complete a sale as quickly as possible, while others need a few extra steps.
A POS system shouldn’t force everyone to work the same way. It should adapt to how your business operates.
Here’s how the latest eHopper POS customization options help you do just that.
See eHopper POS Customization in Action
Watch this short video to learn how to customize your POS screen, organize products, set payment shortcuts, and remove unnecessary checkout steps.

1. Put Your Most-Used Actions Right on the Checkout Screen
Think about how many times your employees tap the screen during a typical transaction.
If most of your customers pay by credit card, why should employees have to open a payment menu every time?
With eHopper POS, you can customize the Action Bar to show the functions you use most.
For example, you can add a dedicated Credit Card or Cash shortcut next to All Payments. If you run a restaurant, you might prefer quick access to Tables.
You can also organize secondary functions so they’re easy to reach without cluttering the screen.
The idea is simple: Keep the tools you use every day within reach and move less frequently used options out of the way.
How to set it up:
-
Open Settings from the main menu.
-
Select Appearance.
-
Open Action Bar and choose your preferred actions.
2. Display Products the Way You Want
Not every business searches for products the same way.
In a retail store, employees may scan barcodes. But what happens when an item doesn’t have a barcode, or you run a business where employees select products directly from the screen?
The way your products appear matters.
eHopper POS lets you choose between two product display options:
Tiles View: Display products in a traditional tile layout with pages. This can work well for businesses where employees recognize products visually and prefer tapping them.
List View: Display products in a scrolling list. You can choose one or two columns depending on your screen size and preferences.
For example, a small cafe might use a two-column list to display more menu items on a landscape screen. Another business might prefer a single-column list that’s easier to scroll through.
There is no right or wrong choice. Use the layout that helps your employees find products faster.
3. Customize How Product Categories Appear
Imagine running a coffee shop with categories for Coffee, Tea, Pastries, Sandwiches, and Cold Drinks.
Your cashier might need to switch between these categories several times while taking one order.
eHopper gives you two ways to organize category navigation.
Category Strip: Categories stay at the top of the screen, while products appear below. Employees can quickly switch between categories.
Categories First: Employees first see a screen with all product categories. After selecting a category, they see the products inside it.
Category Strip may work better for a business that switches between categories frequently.
Categories First may be more convenient for a store with many departments or product groups.
Choose the option that makes sense for your business and your employees.
4. Skip Unnecessary Checkout Steps
This is where small changes can make a difference during busy hours.
Imagine a convenience store where customers regularly stop in for one or two items. The cashier needs to complete the payment and move on to the next customer.
Does every transaction really need an additional payment confirmation screen?
With the latest eHopper checkout preferences, you can choose to:
-
Skip the payment confirmation step.
-
Bypass the receipt screen.
For a busy counter, removing an unnecessary screen can mean fewer taps and a simpler transaction.
Of course, some businesses prefer to keep these steps. You may need additional verification or want to offer customers receipt options.
That’s why these are configurable settings. You decide what works best for your checkout process, while keeping your business’s receipt and payment requirements in mind.
How to set it up:
-
Open Settings from the main menu.
-
Select Checkout.
-
Open Checkout Preferences and choose your settings.
5. Different Businesses Need Different Checkout Experiences
Let’s look at a few everyday examples.
Retail Stores and Convenience Shops
A customer comes in to buy a bottle of water, a snack, or a carton of milk. They want to get in and out quickly.
A retail store might prioritize a Credit Card shortcut, organize products for easy access, and skip unnecessary checkout screens.
Coffee Shops and Quick-Service Restaurants
Lunch rush is here. Customers are lining up, employees are taking orders, and every extra tap adds up.
A cafe might choose Category Strip to move quickly between drinks and food, use a two-column product list, and place its preferred payment method on the Action Bar.
Full-Service Restaurants
A restaurant has a different workflow from a convenience store.
Staff need to work with tables and manage orders rather than simply scan products and collect payments.
Having Tables available as a dedicated action can make it easier to reach that function during service.
Service Businesses
Some businesses don’t process hundreds of transactions a day, but they still want an easy checkout experience.
They may prefer a simple product list and a clear set of actions rather than a screen filled with options they rarely use.
The point is that your POS setup should reflect how your business actually works.
6. Small Changes Can Make a Big Difference
Think about how often your employees complete a checkout.
If a business processes 200 transactions a day and removes just five seconds from each transaction, that’s more than 16 minutes of checkout time saved across the day.
That’s an illustration, not a measured eHopper performance result. Actual time savings depend on your workflow and how employees use the system.
But it shows why small improvements are worth considering.
Less time navigating screens can mean shorter lines, fewer interruptions, and more time helping customers.
And when customers can pay and leave without unnecessary delays, they’re more likely to have a positive experience.
Make eHopper POS Work the Way Your Business Works
At eHopper, we understand that checkout isn’t the same for every business.
A busy restaurant, a neighborhood convenience store, a retail shop, and a service business all have different needs.
That’s why we continue improving eHopper POS with options that let you customize your checkout experience.
From choosing your preferred payment actions and product layouts to organizing categories and removing unnecessary screens, these settings give you more control over how your employees work.
The goal is simple: Fewer unnecessary taps, faster checkout, and more time for your customers.
Ready to Speed Up Your Checkout?
See how eHopper POS can work for your business. Customize your checkout screen, explore the features, and find the setup that works best for you.
Try eHopper POS for FREE. No commitment required. Test Drive eHopper POS for Free!