

Quick start guide
POS Setup
1. Install
1. On your Windows device, install the eHopper app by clicking here, followed by the Download link that appears on that page.
2. Open the download by clicking the download link that appears on the bottom of your screen.
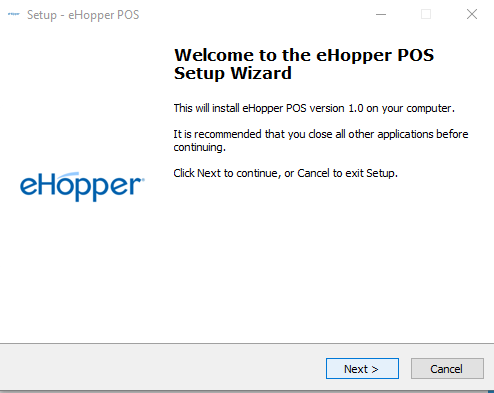
3. Follow the steps in the eHopper POS Setup Wizard to install.
3. Optionally, install printer drivers. Instructions to install drivers…
2. Open
Once installed, the eHopper app will appear as an icon on your Windows device and can be accessed at any time. Click on it to open.
![]()
3. Log In
1. On the login screen, input your Account ID and License Key that you received from your welcome email.

2. Click the blue Activate button.
4. PIN
1. On the PIN screen, input the 6 digit PIN that you received from your welcome email.
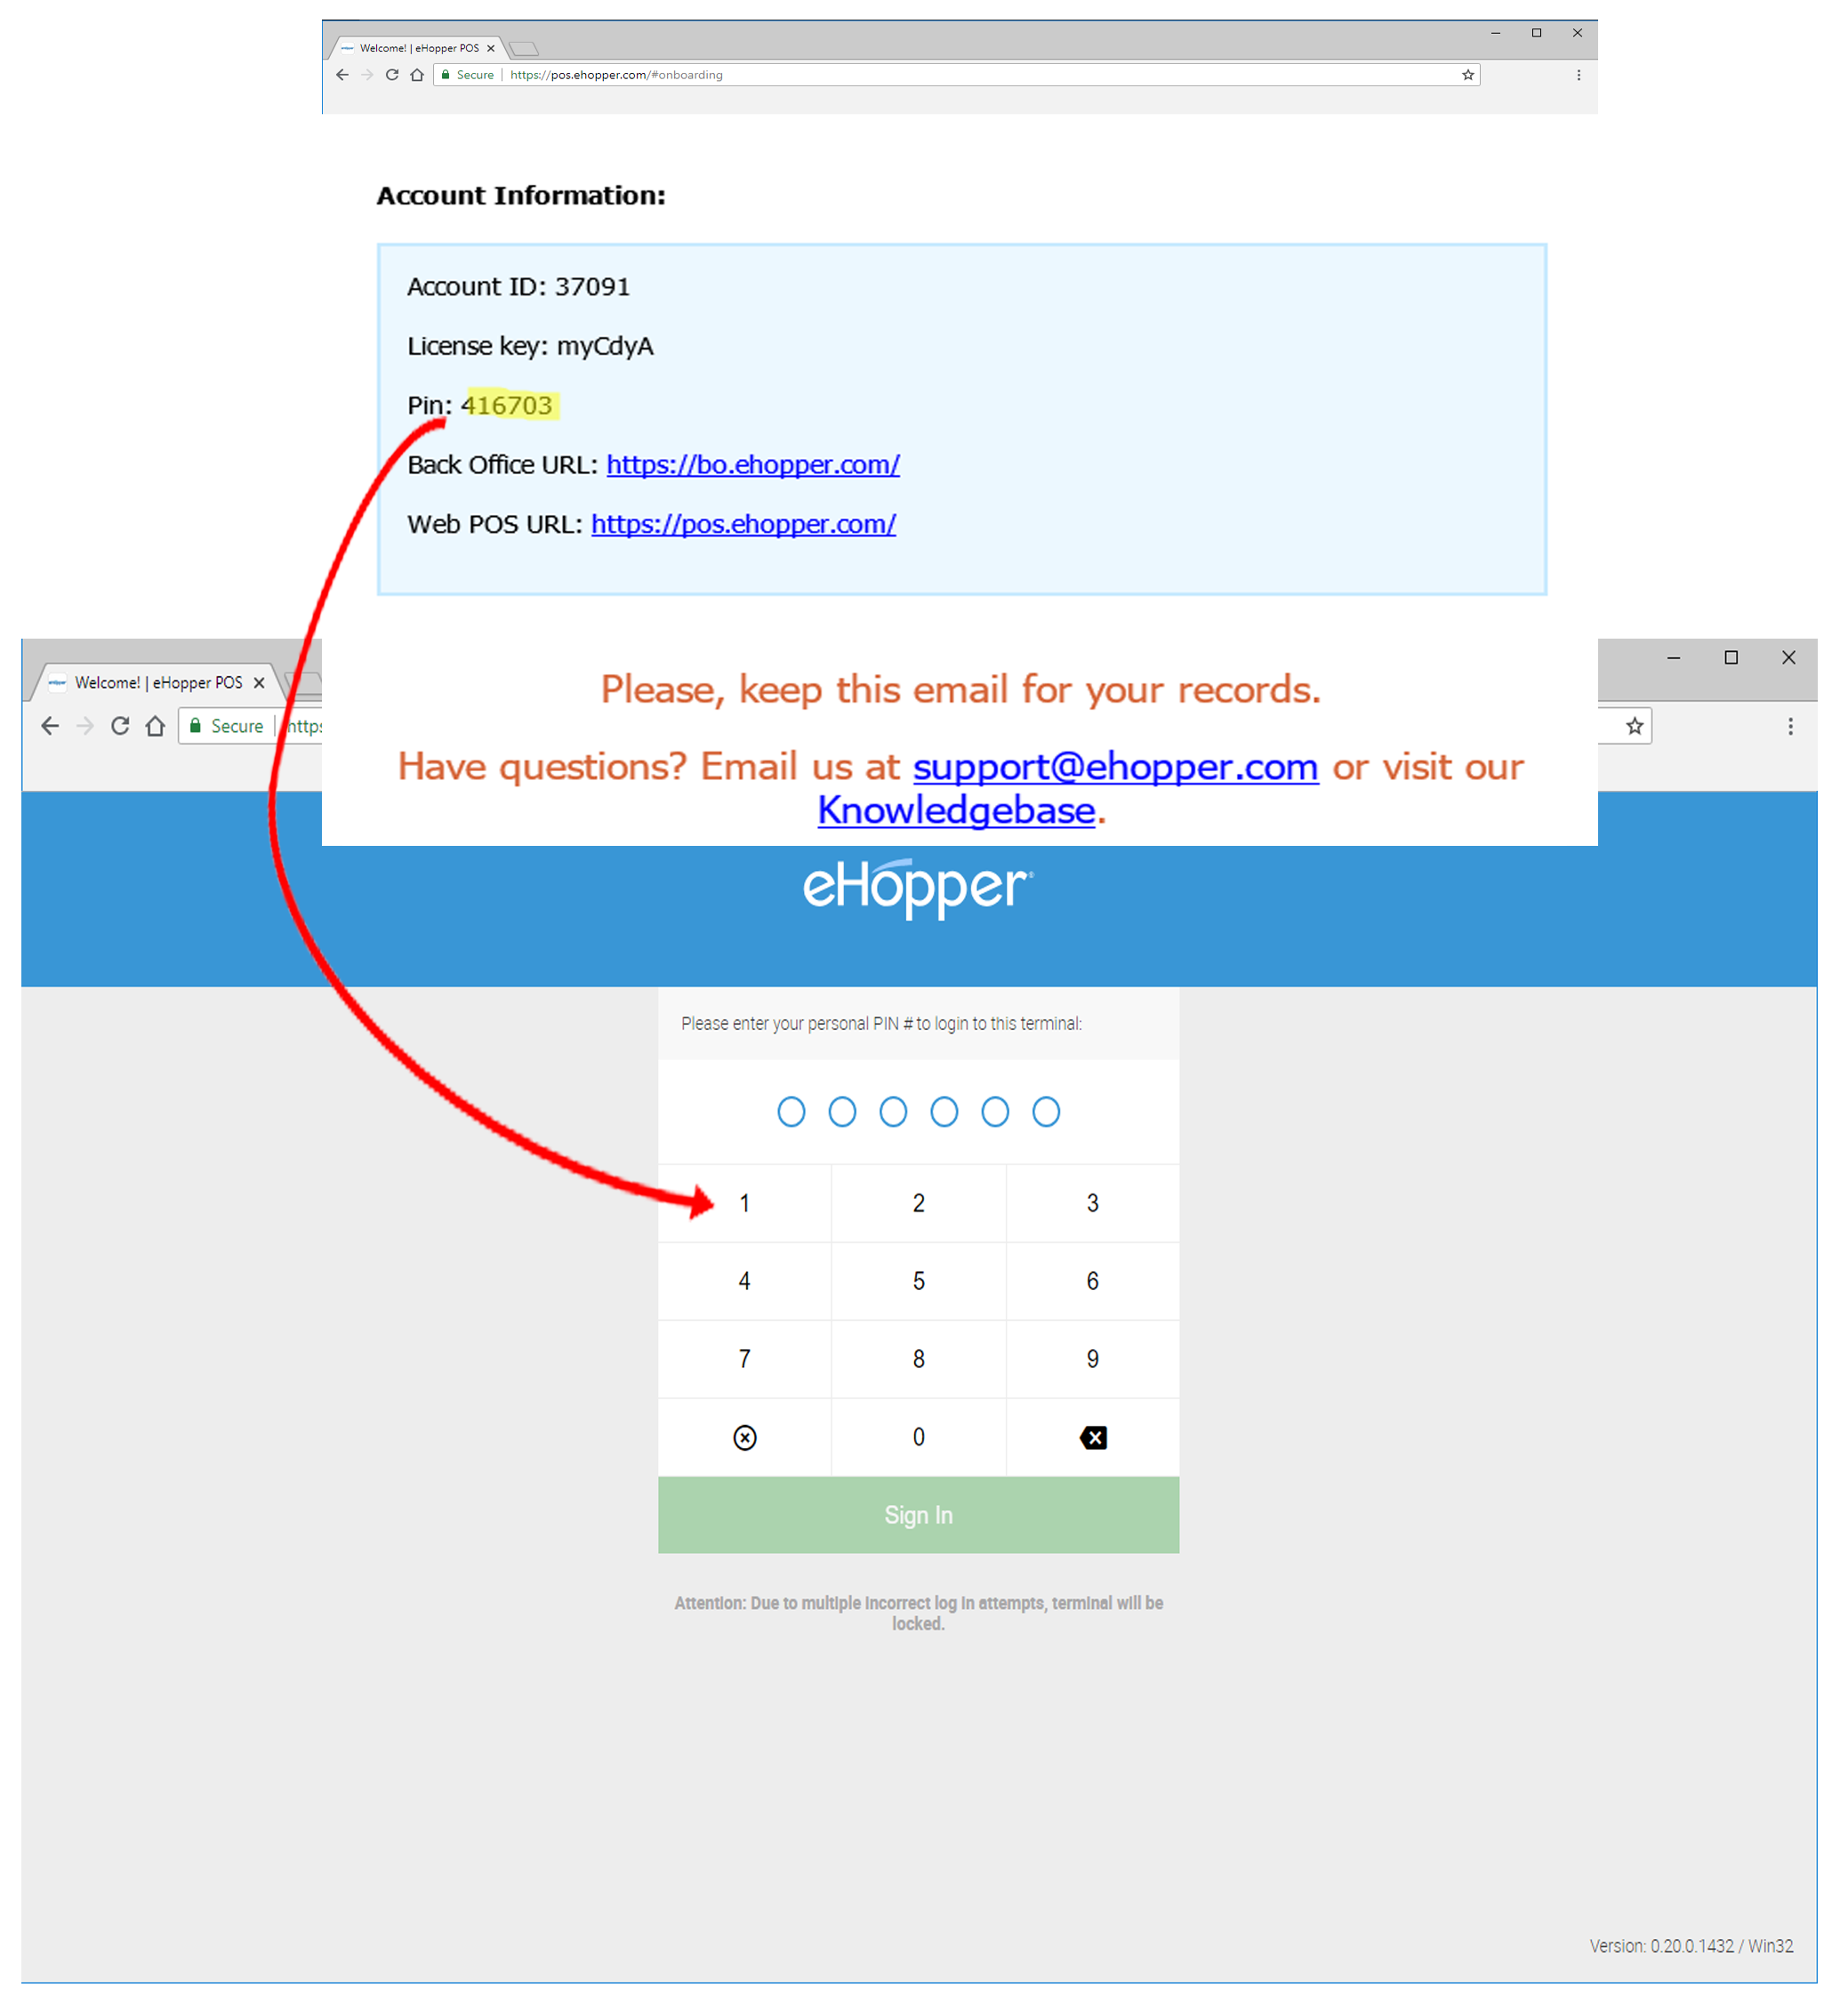
2. Congratulations! Now you can start using the eHopper POS app on your Windows device.
Login to Back Office
1. Enter Back Office URL
Navigate to https://bo.ehopper.com/ in a Google Chrome browser.
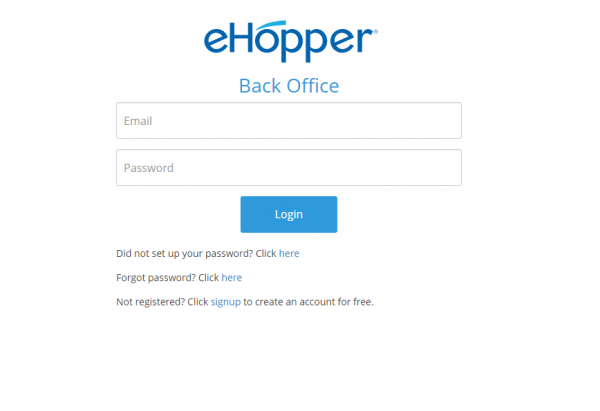
2. Log In
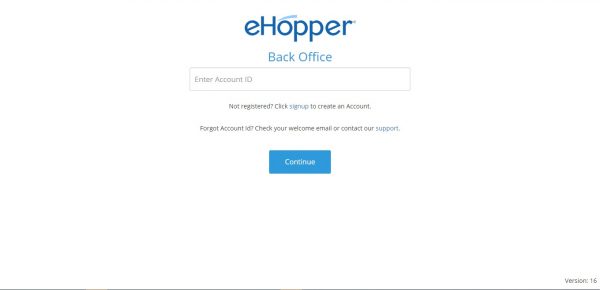
1. On the login screen, enter the Account ID you received from your Welcome email.
2. Enter the Email and Password that you used when creating your eHopper account.
3. Congratulations! You can now start using eHopper Back Office on your Windows device.