
How to Use New eHopper Windows POS App to Automate your Business
Speed of operations and the ability to manage your inventory, customers, and employees is your key to success for any business.
Thankfully, there are a lot of tools which will allow you to achieve that. One of those is the eHopper Point of Sale system.
In addition, to be very efficient, we made the eHopper Windows POS app very easy to install and to use. This guide covers how to download and use the eHopper POS on Windows to manage your business.
Install and Log in to eHopper Windows POS App
1. Download the eHopper POS app for Windows by clicking here, followed by the Download button that appears on that screen.
2. Open the download by clicking the download link that appears on the bottom of your screen.
3. Click Yes on the popup that appears.
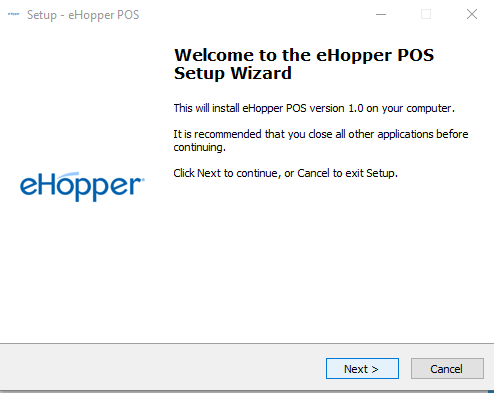
4. Click Next on the eHopper POS Setup Wizard screen.
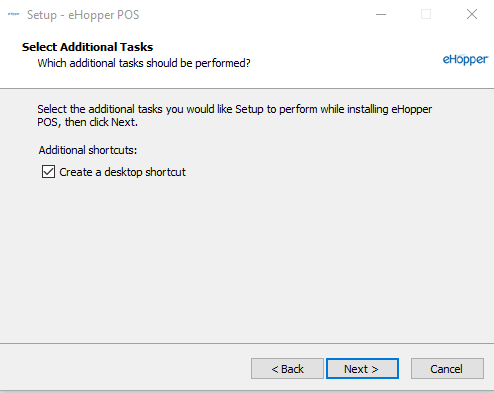
5. Select the destination location for the app and then click Yes.
6. Select Next again on the following screen.
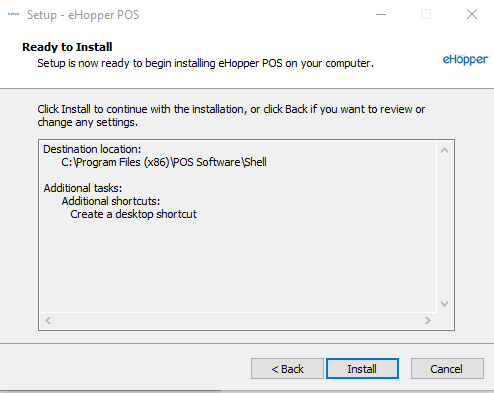
7. Click Install
8. Wait a few seconds for the file to install. Once installed, click Finish.
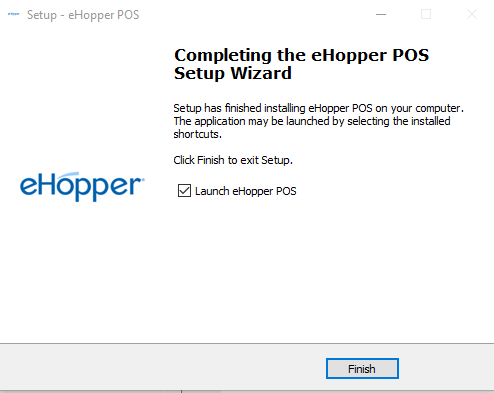
9. The installed eHopper app will appear as an icon on your Windows device. Click on it to open. The app can now be accessed at any time.
![]()
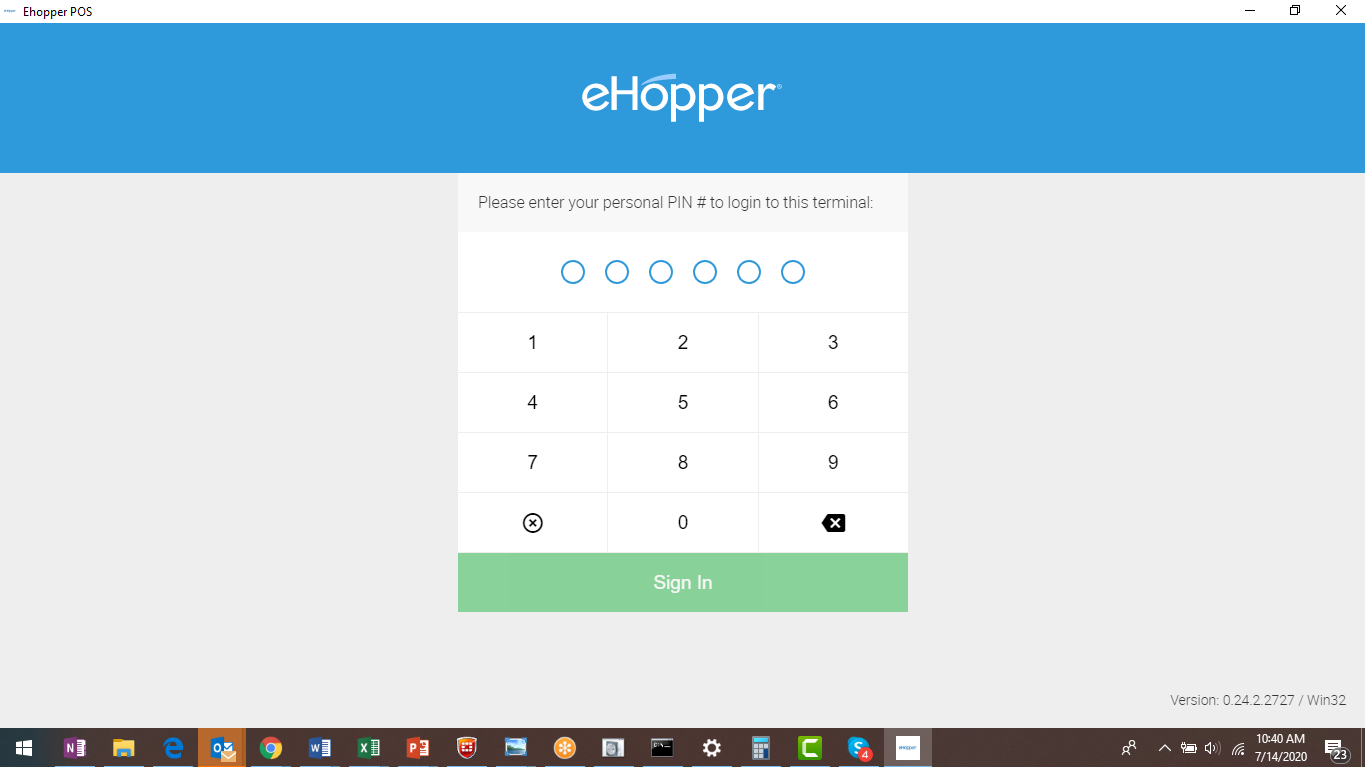
10. Log in to your eHopper POS account with your Account ID and License Key, followed by the PIN.
11. Agree to the Terms and Conditions.
12. Once the synchronization is complete, you will be logged in to the eHopper POS app for Windows.
Set Up Receipt Printer on eHopper POS Windows App
To set up your receipt printer on the eHopper POS Windows app, please follow the steps below:
1. Make sure your printer is configured, turned on, and on the same network as your Windows device.
2. Download the driver for your receipt printer by following the steps in this article.
3. Open the eHopper POS app on your Windows device and log in to your account.
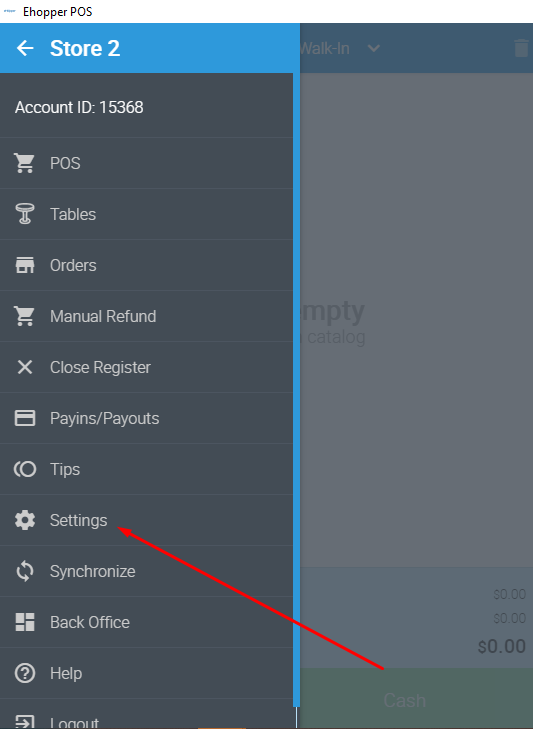
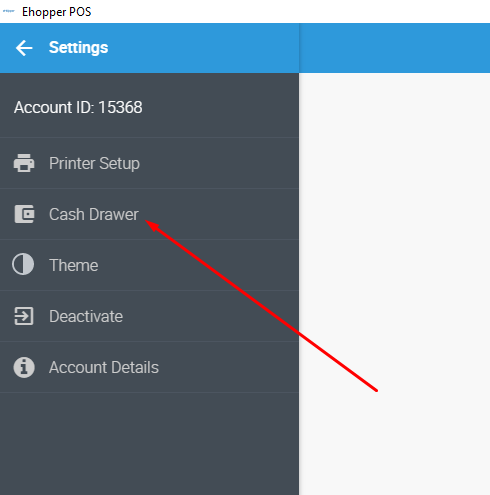
4. Open the left menu and click Settings.
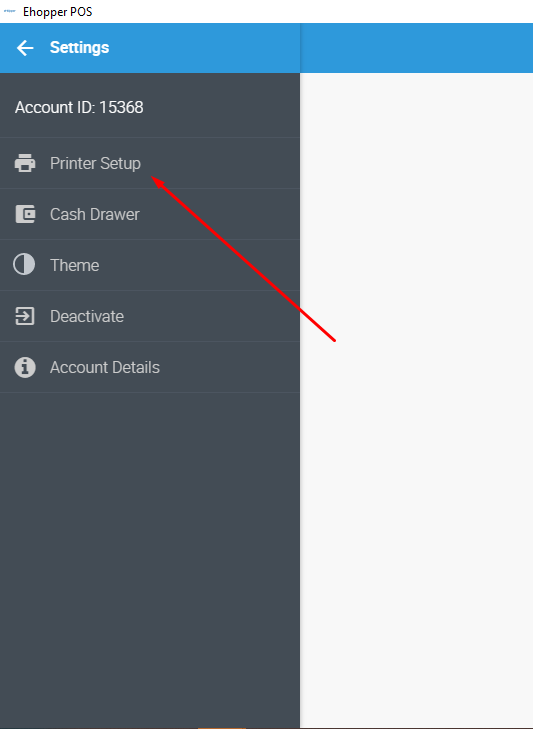
5. Click Printer Setup
6. Click Search for printer on the top right of the screen.
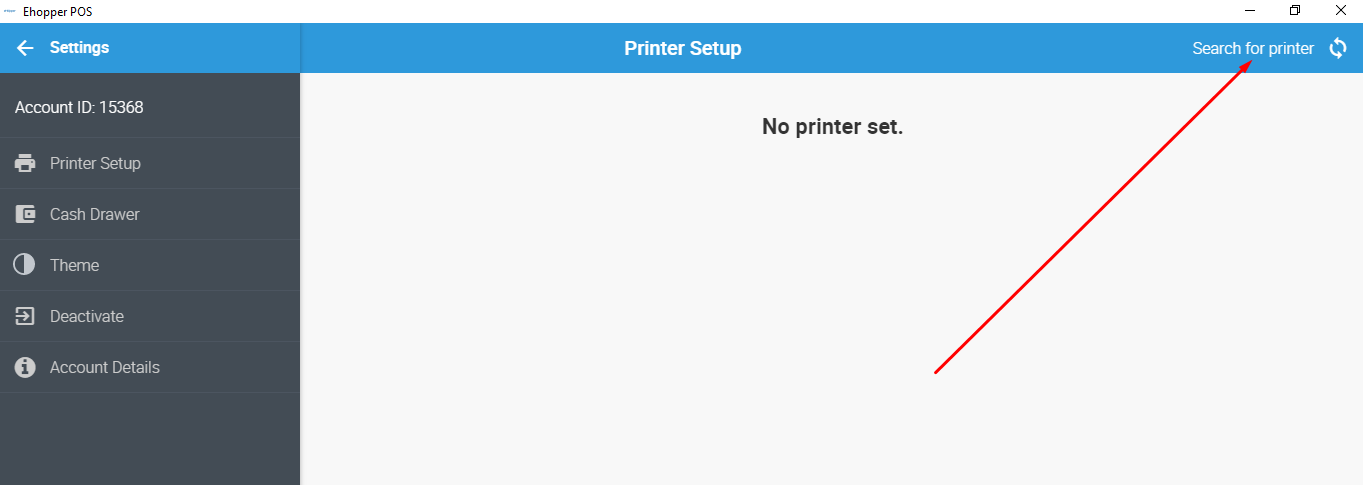
7. All printers with drivers installed on the device should then appear under both Receipt Printers and Kitchen Printers. Select the box next to each printer you want both types of receipts to print from.
Note: For kitchen receipts to print, you must select the Kitchen Receipt option in the Receipt tab of your Back Office Store Settings.
• For info on setting up directional printing for your kitchen printers, please see https://portal.ehopper.com/portal/en/kb/articles/directional-printing-for-kitchen-printers
8. Choose either 80mm or 58mm as the paper width for both printer types.
9. Print a test page by clicking Print test page to ensure the printer works and is set up properly.
10. Click the DONE button.
• The receipt/kitchen printer should now be set up to print through the eHopper POS app for Windows.
Set Up Cash Drawer on eHopper POS Windows App
To set up your cash drawer in the eHopper app for Windows, please follow the below steps.
1. Be sure that your printer drivers are installed and that the cash drawer is properly connected to the printer.
2. Open the eHopper POS app on your Windows device and log in to your account.
3. Open the left menu and click Settings.
4. Click Cash Drawer
5. Click Search for cash drawer on the top right of the screen.
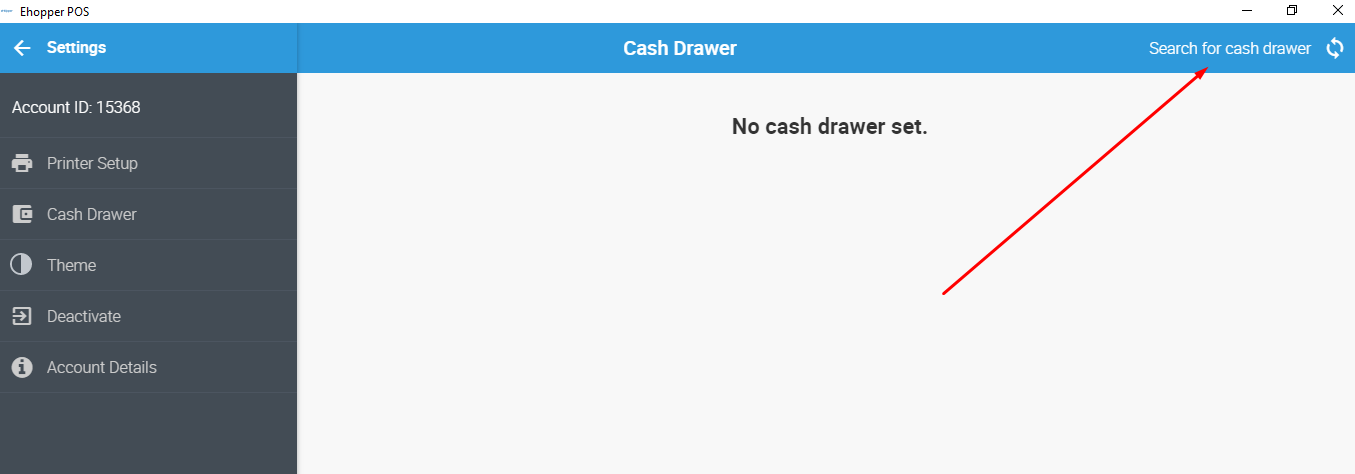
6. In the list of printers that appear, select the printer that the cash drawer is connected to.
7. Tap the Test link to the right of the selected printer. If the drawer opens, it is properly set up.
8. Tap the DONE to confirm settings.
9. The drawer should now open upon each transaction.
Terminal Setup on eHopper App for Windows
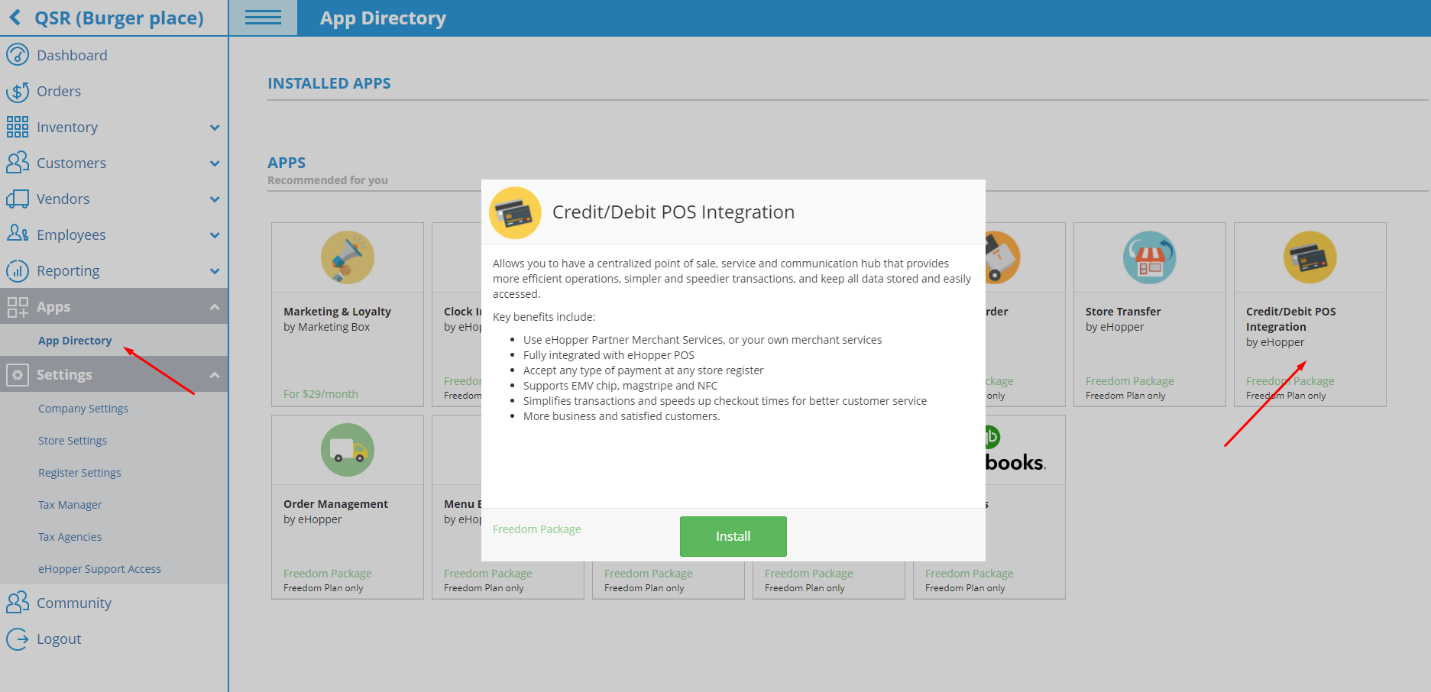
1. Log in to Back Office at bo.ehopper.com, go to Settings—>Apps—>App Directory—>install Credit/Debit POS integration App.
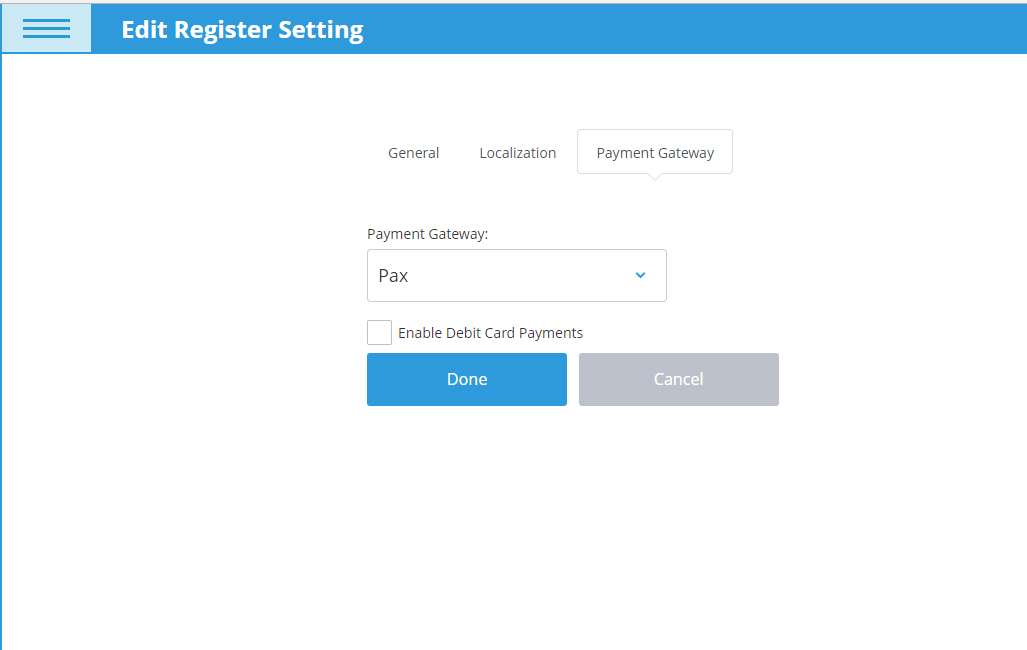
2. Go to Settings—>Store Settings.
3. Click Payment Gateway tab—>select the terminal you are using in Payment Gateway drop-down menu—>click Done.
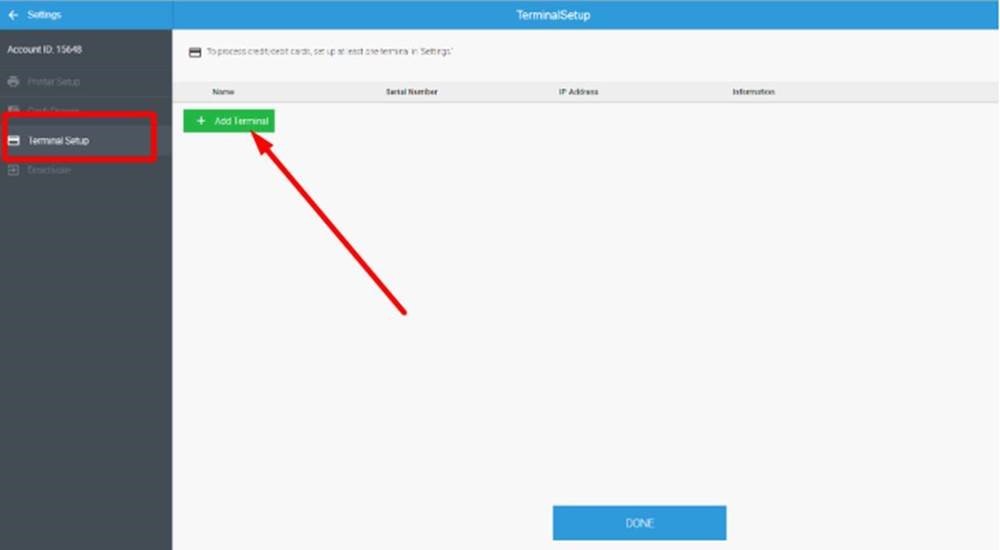
4. Login to POS and go to Settings—>Terminal Setup—>click Add Terminal button.
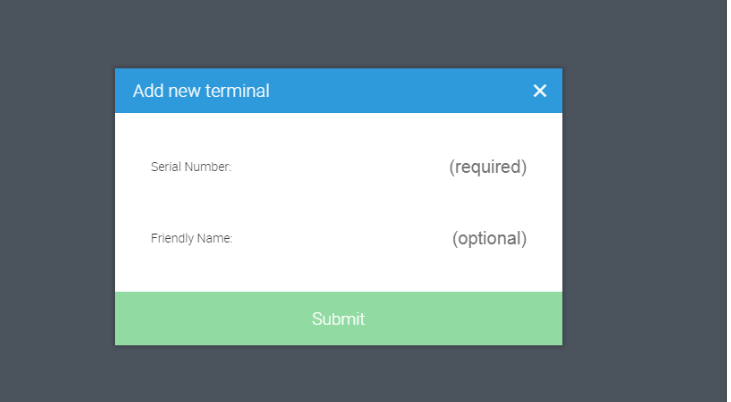
5. Input Serial Number of the terminal and click Submit.
6. Click Done on the Terminal Setup screen.
Process a Sale
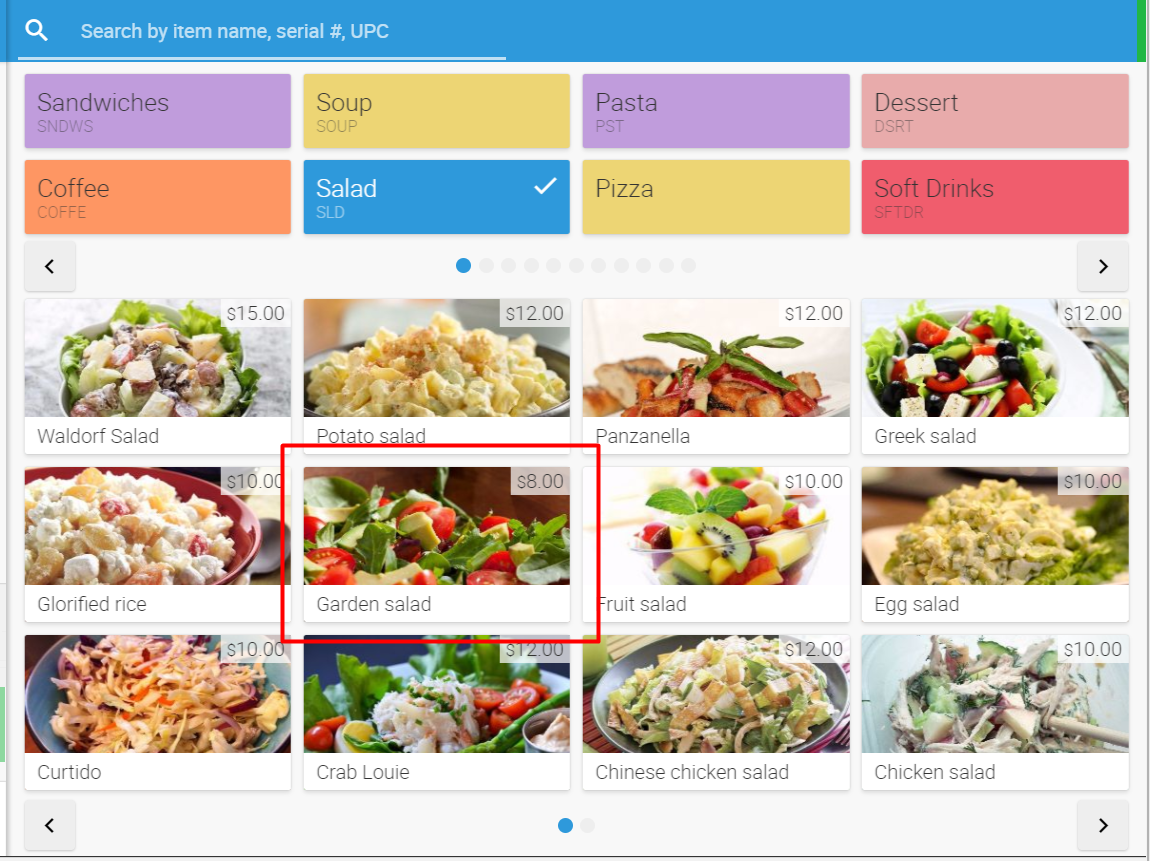
Once you have set up your inventory in your Back Office, you can start processing sales! The first step is to select the items that you are ringing up for the customer order.
To do so, first select the product category of an item that was previously set up in the Back Office.
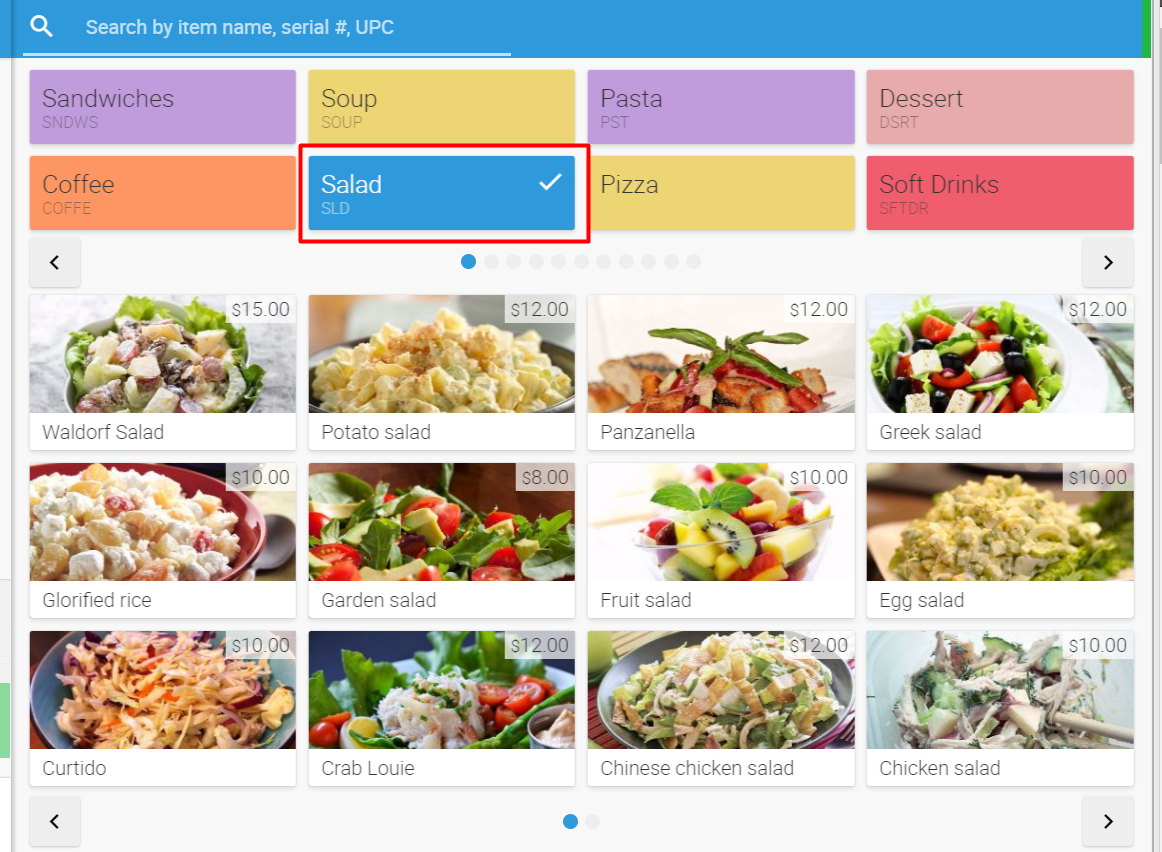
Next, select the product(s) within that category that the customer would like to add to their cart. You will be prompted to select any modifiers if they were set up as options for the product.
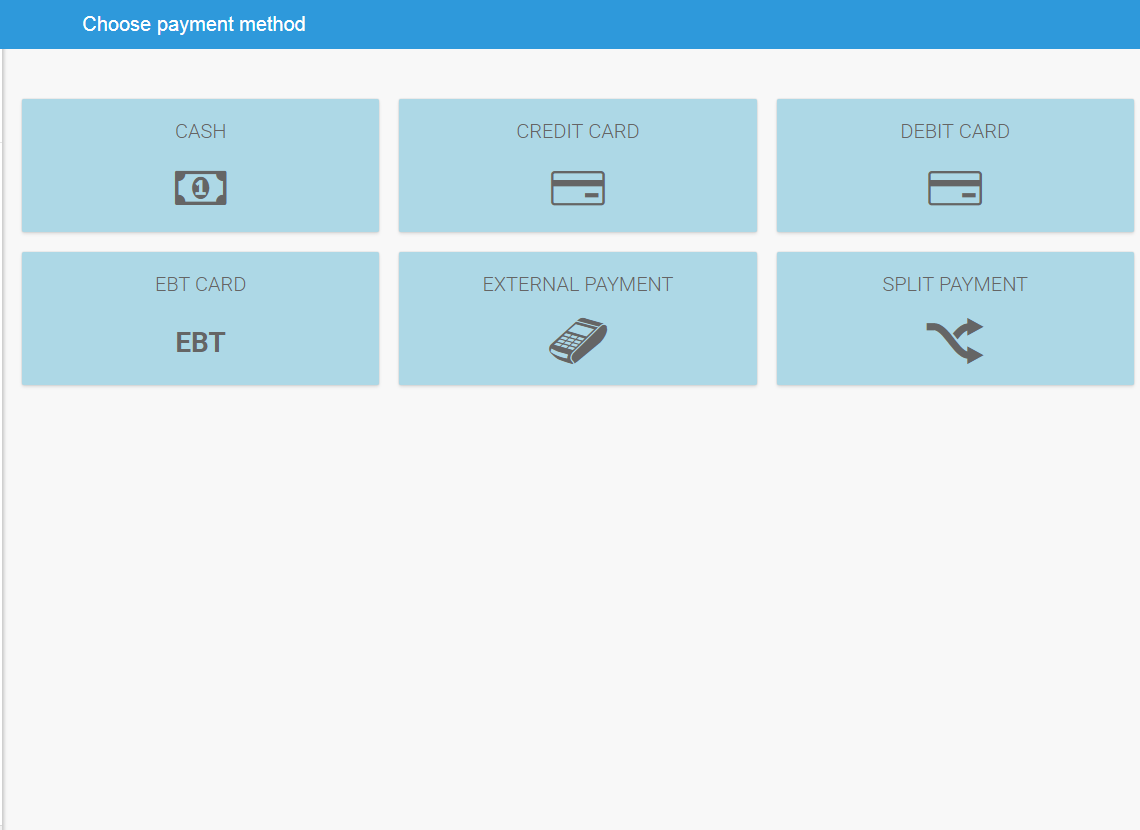
Finally, select the Payment Method button and choose the tender type that the customer will be using and then follow the steps to process the transaction.
Conclusion
As mentioned, the eHopper Point of Sale system is the perfect tool to speed up orders and manage inventory, customers, employees, and other operations, in order to ensure success for your business.
If you have a Windows device, you can easily use eHopper for this purpose through the eHopper POS app for Windows, by following the above steps from this guide.
Getting started with eHopper for Windows is easy. Simply sign up and create an account through https://ehopper.com/pricing/, and you will be able to take full advantage of eHopper’s features to effectively run your business in no time.


![How to Choose the Best POS System for Restaurants and Retail [Download FREE POS Comparison Checklist]](https://ehopper.com/wp-content/uploads/free-pos-comparison-checklist-for-best-post-180x180.jpg "How to Choose the Best POS System for Restaurants and Retail [Download FREE POS Comparison Checklist]")