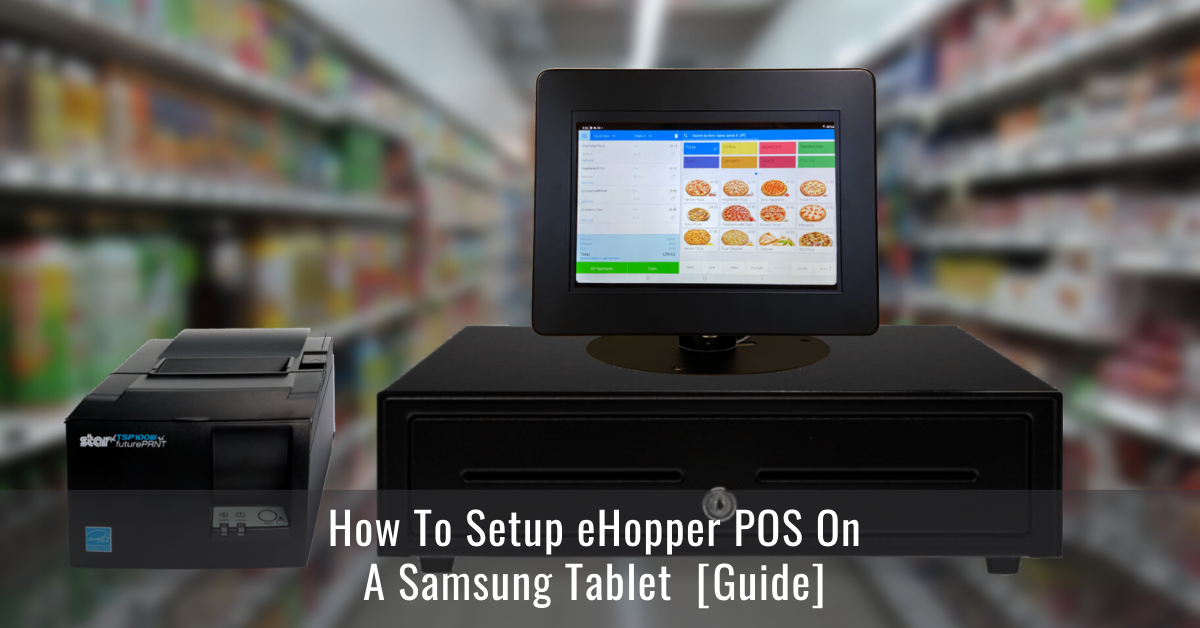
How To Setup eHopper POS On A Samsung Tablet
Samsung is one of the most known and respected brands in the world because of their innovative products and quality. Therefore, we at eHopper use Samsung technology as our primary Android POS hardware solution.
This guide will show you how to turn your Samsung tablet into a powerful point of sale system, using eHopper POS software for your business.
About eHopper POS
eHopper POS is an easy to use, device agnostic, point of sale software. eHopper operates on Android POS, Windows POS and iPads. It is also fully integrated with the Poynt Smart Terminal for mobile business management.
eHopper supports retail, restaurants and professional services. Features include payments, inventory and customer management, a mobile website with eCommerce capabilities, a loyalty app and much more. For a list of features, please visit: eHopper features.
About Samsung Tablets
The Samsung tablet is a powerful, highly responsive device. It’s Samsung OS, based on Android, makes it easy to use for everyone, and with up to 256GB of storage space, users can store their library on their tablets without worrying about running out of room.
Requirements
1. Create an eHopper POS software account
2. Have a Samsung Tab A 9.7” or 10.1”, 10.4 tablet
3. Have optional POS hardware, such as printers, payment terminals, cash drawers and scanners.
4. Steps to set up eHopper POS On a Samsung tablet
5. Download the eHopper POS app from the Google Play store
6. Open the eHopper app.
7. Create an account by selecting a sign up link.
Upon registration, you will receive an email with your account ID and License key and the instructions with the next steps.
Enter your Account ID and License Key, which can be found in the welcome email and tap the Done button.
Enter the PIN #, which is also found in the welcome email.
Accept the Terms & Conditions and tap Submit.
You will be logged into your POS.
Important: If you didn’t select the demo option when creating your account, and you haven’t created any products in Back Office, the POS product catalog will be empty.
For the products to appear, they must first be created in Back Office. To log in to Back Office, click the Back Office link (bo.ehopper.com) in the Welcome email or enter it into a Google Chrome browser, and enter your Account ID (from Welcome email), email, and password that you used to sign up.
How to connect POS peripherals
eHopper POS supports all needed peripherals for retail and restaurant operations, such as cash drawers, payment terminals, thermal printers and scanners.
You can connect a POS peripheral using either Ethernet, Bluetooth or Wi-Fi. However, the peripherals must be compatible and connected to your tablet’s operating system (iOS/Android).
To make sure that you buy an eHopper POS supported device, please follow this link: ehopper.com/hardware. If in doubt, please contact us at support@ehopper..com
How to connect a printer to your Samsung tablet
1. Log in to POS on your Samsung device.
2. In the left navigation menu, tap on Settings—>Printer Setup
3. On the Printer Settings screen, tap Search for printer on the top right.
4. The printer should show up under both Receipt Printers and Kitchen Printers. Check off the box(es) of whichever one(s) you would like to set up your printer to print. For details on how to set up printers for your POS, visit https://portal.ehopper.com/portal/en/kb/articles/setting-up-printers-on-pos
How to connect a cash drawer to your Samsung tablet
First connect the cash drawer to a working printer.
1. In the left navigation menu, tap on Settings—>Cash Drawer
2. Tap Search for the cash drawer on the top right of the screen.
3. In the list of printers that appear, select the printer that the cash drawer is connected to.
4. Tap Test link to the right of the selected printer. If the drawer opens, it is properly set up.
5. Tap DONE to confirm settings.
For details on how to set up a cash drawer, visit https://portal.ehopper.com/portal/en/kb/articles/setting-up-cash-drawers-on-pos
How to connect a payment terminal
First, connect your payment terminal to the same network (either via Ethernet or WiFi, depending on the terminal type) that your Samsung tablet is connected to.
1. Go to your eHoppper Back Office and select Settings—>Apps—>App Directory
2. Install the Credit/Debit POS integration App
3. Select Settings—>Store Settings and then select the store you are setting the terminal up with.
4. Select the Payment Gateway tab and then select the terminal gateway you are using.
5. Log in to POS and go to Settings—>Terminal Setup, and then select the Add Terminal button
6. If using a PAX terminal, enter the serial number in the field that appears. If a DejaVoo terminal, enter the RegisterID and AuthKey.
7. Select the Done button to add the terminal.
For details on how to set up a payment terminal, visit https://portal.ehopper.com/portal/en/kb/articles/setting-up-terminal-on-pos
You can easily turn your Samsung tablet into a point of sale solution with the above steps. No need to spend thousands on hardware or software. To get started, all you need is a Samsung Tab A tablet and eHopper POS software.
We offer a free POS plan so you can start with eHopper POS at no cost! To sign up, visit https://ehopper.com/pricing/
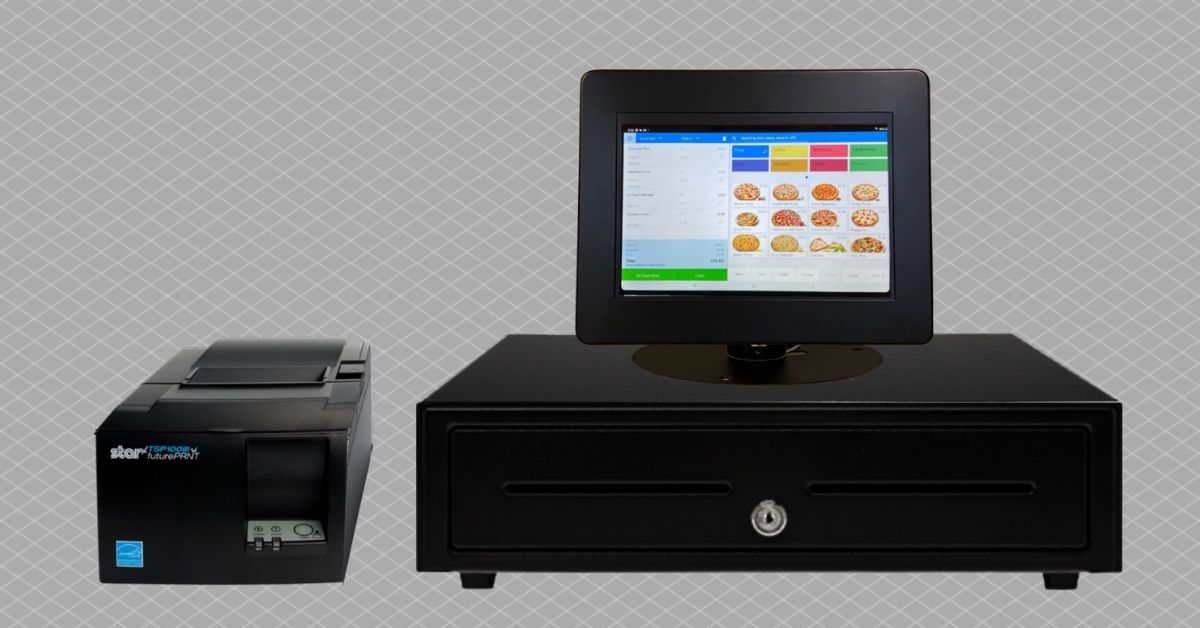
Check out eHopper POS Hardware Bundle Powered by Samsung tablet. Shop Now!


")